3 Small Home Cleaning Projects With Big Payoffs - 5 minutes read
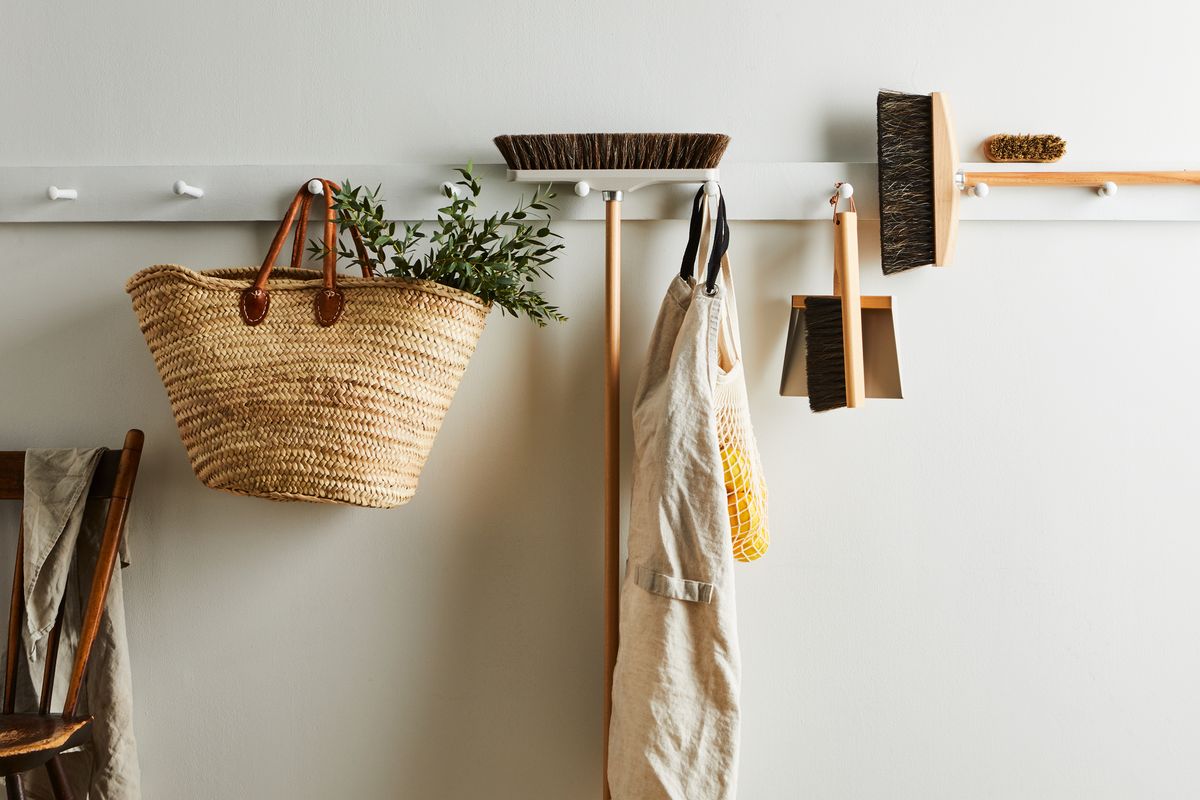 Easy Home Cleaning Projects
Big resolutions are overrated. This year, we’re all about highly doable improvements we can pull off any day. In Small Change, Big Impact, we're making tiny tweaks and sharing the results. Follow along, join in, and let us know what other small changes you’re making this year.
Everybody has that one tiny thing that, irrationally, makes them feel like a mess. For me, it’s having jagged nails. I could be doing pretty okay, actually—getting things done, checking things off the list. I could even be wearing really nice clothes. But with crooked, unkempt nails I feel like a heathen who hasn’t showered in days. Then I spend two minutes with a nail file—nothing fancy, just a rapid-fire file—and I feel instantly neater, put together, like I could slay an important presentation or put on a backless dress or something.
The same rule applies to the home. I’m pretty good about keeping the house in order: doing the dishes, wiping down the counters, straightening the sofa, vacuuming the kitchen floor. But I tended to put off anything that seemed tedious, and I definitely drew the line at tasks that required me to move furniture. But no matter how neat the apartment looked, it always felt just a little short of clean. So this January, turning my attention towards home and making my space a nicer place to spend time, I’m aiming to add three little chores to my regular cleaning go-tos.
I like these little cleaning jobs because they seem particularly annoying, but they’re surprisingly easy (they literally take two to six minutes each). But most importantly, once they’re done, the whole place feels sparkling, every nook immaculate. It feels like you’ve deep-cleaned the whole house even when you haven’t—very achievable New Year’s resolutions.
It makes me crazy to go to bed with dirty dishes, so I do those every night. But now I take it one step further: I take our dish dryer out of the sink, scoop out any food detritus with a paper towel, squeeze a few drops of dish soap into the basin, and give the whole interior—bottom, sides, and back—a good scrubbing with a rough sponge. (You can also add a sprinkling of baking soda instead of dish soap, scrub, and rinse with vinegar.) Then I rinse with super-hot water, using our sink’s spray nozzle to get at every corner. (If you don’t have a spray nozzle, you can also use a cup to help splash water around forcefully.) Our stainless sink literally shines—so much nicer to wake up to.
When I was a kid, my parents instilled in me the importance of doing chores thoroughly. (When I try to cut corners, alone in my apartment, a voice in my head still says, “A job worth doing is worth doing well.” And then I have to go back and do it over again.) In addition to actually moving things to dust, not just dusting around things, my greatest lesson was the importance of vacuuming baseboards. Yes, you should vacuum your floors and under furniture—but baseboards, slightly detailed and raised, are perfect spots for dust to collect. Now, when I vacuum, I run the small fuzzy brush attachment all around the tops of the baseboards, all around the room. You wouldn’t believe what collects there.
The slightly annoying part of this one is that you probably will have to move your furniture around a bit to get at all of the baseboards. But you can do it. I know you can.
Okay, I admit I’ve only done this one once. But I should do it again! Because while cleaning the trash can always seems like a big, sort of bulky, job to me (and gross: who knows what’s accumulated in the bottom or dripped down the sides?), it’s actually pretty easy. Besides, like any cleaning task, it only gets grosser the longer I put it off.
The trick here is giving your garbage pails and recycling bins a good scrubbing in the shower or bathtub. After you’ve hauled your trash bags off to the curb, haul your empty trash bin to the bathroom and put on some rubber gloves. Give the inside of your trash can a wipe with paper towels if there’s anything (sorry) chunky in there. I like to squirt in a little dish soap again (to help cut through any caked-on food grease), fill the trash can with hot water, and let it sit for a half hour or so to loosen any stubborn drips. (You can also use good old Dr. Bronner’s—the peppermint would smell nice.) Then—and this is where doing this in the bath comes in handy—dump it out, scrub with a sturdy brush, and rinse well. To finish, spray the inside and outside with a disinfectant spray, wipe clean, and dry completely before putting a trash bag back inside.
I suggest doing this every month or six weeks to keep your trash cans and recycling bins clean and clear, and prevent smells—or, worse, roaches. (If you have a compost bin, that’s another story—that’ll require more frequent scrubbing.) And, because I should start listening to my own advice, I’m off to clean my trash can in my (surprisingly handy) kitchen shower.
Source: Food52.com
Powered by NewsAPI.org
Keywords:
Getting Things Done • Nail file • Backless dress • Couch • Kitchen • Furniture • Near-Earth Asteroid Tracking • Myspace • New Year's resolution • Sink • Shovel • Food • Detritus • Paper towel • Sponge cake • Sodium bicarbonate • Vinegar • Spray nozzle • Spray nozzle • Do It Again (Pia Mia song) • Waste • Scrubbing In (TV series) • Bathtub • Waste container • Paper towel • Petroleum • Bathing • Disinfectant • Bin bag • Waste container • Recycling bin • Cockroach • Compost •