how to lay and age a brick patio - 5 minutes read
 We loved sharing our back yard makeover {part 1!} with all of you this last week. It was definitely a labor of stay-home love a-la covid. And today we thought we’d share one of our how-tos from the whole thing: how to lay and age a brick patio.
This was our before, and it was a real change for our entire space. We were so tired of looking at that pump, and if you remember from our story we’d acquired these bricks.
So we decided to make lemons into lemonade, and work with them. It was also a great solution because we can’t have anything considered permanent on this side of the yard, but we definitely needed to expand our patio area. We got creative, and my shoulder feels like it may never be the same.
We love the final aged look of the brick, and the huge difference it made for our yard!
how to lay and age a brick patio: how we did it
It started with a little measuring.
We knew how many bricks we had, and roughly, how much area that would cover. So we basically spray painted the line on which we wanted to expand. Usually, we have an over all plan, and we shared more as it evolved here. But we marked a line with simple spray paint, and started there.
Next, is removing the existing grass. We could hand dig our yard, but we didn’t want to die. So this is the part where Jamin rented a big boy toy and was super proud of himself.
how to lay and age a brick patio: leveling
Once the area was removed, it was time to level it out with sand. {Remember, we already had that in our yard, too.}
So we leveled it out by adding sand to the spot where the bricks would go. You may also notice we enlisted our children. Homeschool bonus project for the win. {No worries: we also cleaned up that flower bed + added some rose bushes, and have a wild flower garden now growing in the back box because in that photo, it’s ew.}
how to lay and age a brick patio: laying a pattern
Once that was leveled, we debated on brick patterns. As much as I {Ashley} wanted herringbone, and basket weave, and all the patterns… I knew that a. we were lightening it with a german smear b. we would have it under foot in a dining area so it would be covered with flowers and furniture and c. all the cuts made it a no-dice situation for us. Aintnobodygottimeforthat. Yes, even in an epidemic.
Simple won.
Side note: These are my brand new sunglasses I’d just worn to Jamaica. I now cannot find them and I’m somewhat convinced a. there’s a ghost b. I buried them by accident under the pavers. Probably option B. This is why we can’t have nice things.
So we started with an easy border and laid them all out.
It helped to have a mallet, sand to adjust heights and a level as we went. This was not perfect because we’re not landscapers and at one point the perfectionist in me thought she just may go bonkers. But it certainly served its purpose.
It got a little tricky when we hit the edge that started to curve. That’s when the cuts began. This is when we were glad for a simple pattern. {And that super obnoxious plug we had to work around, but we use regularly for our pool shark.}
So we laid… And laid and laid and laid…
The boys were certainly our helpers. Dare I say it, they had fun. Our daughter was on the struggle bus, so we put her on other tasks. She didn’t get off scot-free if anyone is wondering. Cheers to having kids to help outside, and one who cleans the house. {THIS is why we had children …MUAHAHAHA}
Laying all these bricks, moving the sand, etc. this probably took us about a week and a half to complete, with total time, rain interruptions, and necessary breaks… because ouch.
how to lay and age a brick patio: stabilizing
Then we added sand on top of the bricks.
We brushed them in all the cracks. This was to make it stable and pack it all in.
how to lay and age a brick patio: adding German smear
And when that was finished, after making a few more adjustments, it was time to start the german smear.
This was the easy and fun part, and only took a couple of hours to complete. Also super rewarding because those bricks were not our first choice.
We literally had some brushes {seen on the bottom of the wheelbarrow} concrete + water.
We just mixed it to a nice consistency, and it was ready to spread.
Wipe on, wipe off, Danielson.
Just spread it to your desired amount – we recommend testing it out on some bricks first.
Know that a lot of it will wear away, so if you want a nice aged look, spread liberally.
We finally developed a system where Jamin would spread it with gloves, and I would come behind him and scrape away the excess with the brush.
The extra slush went into a bucket and we finished it all up. Winning.
We gave it an entire day and night to dry, and the next day, rinsed it down with the hose.
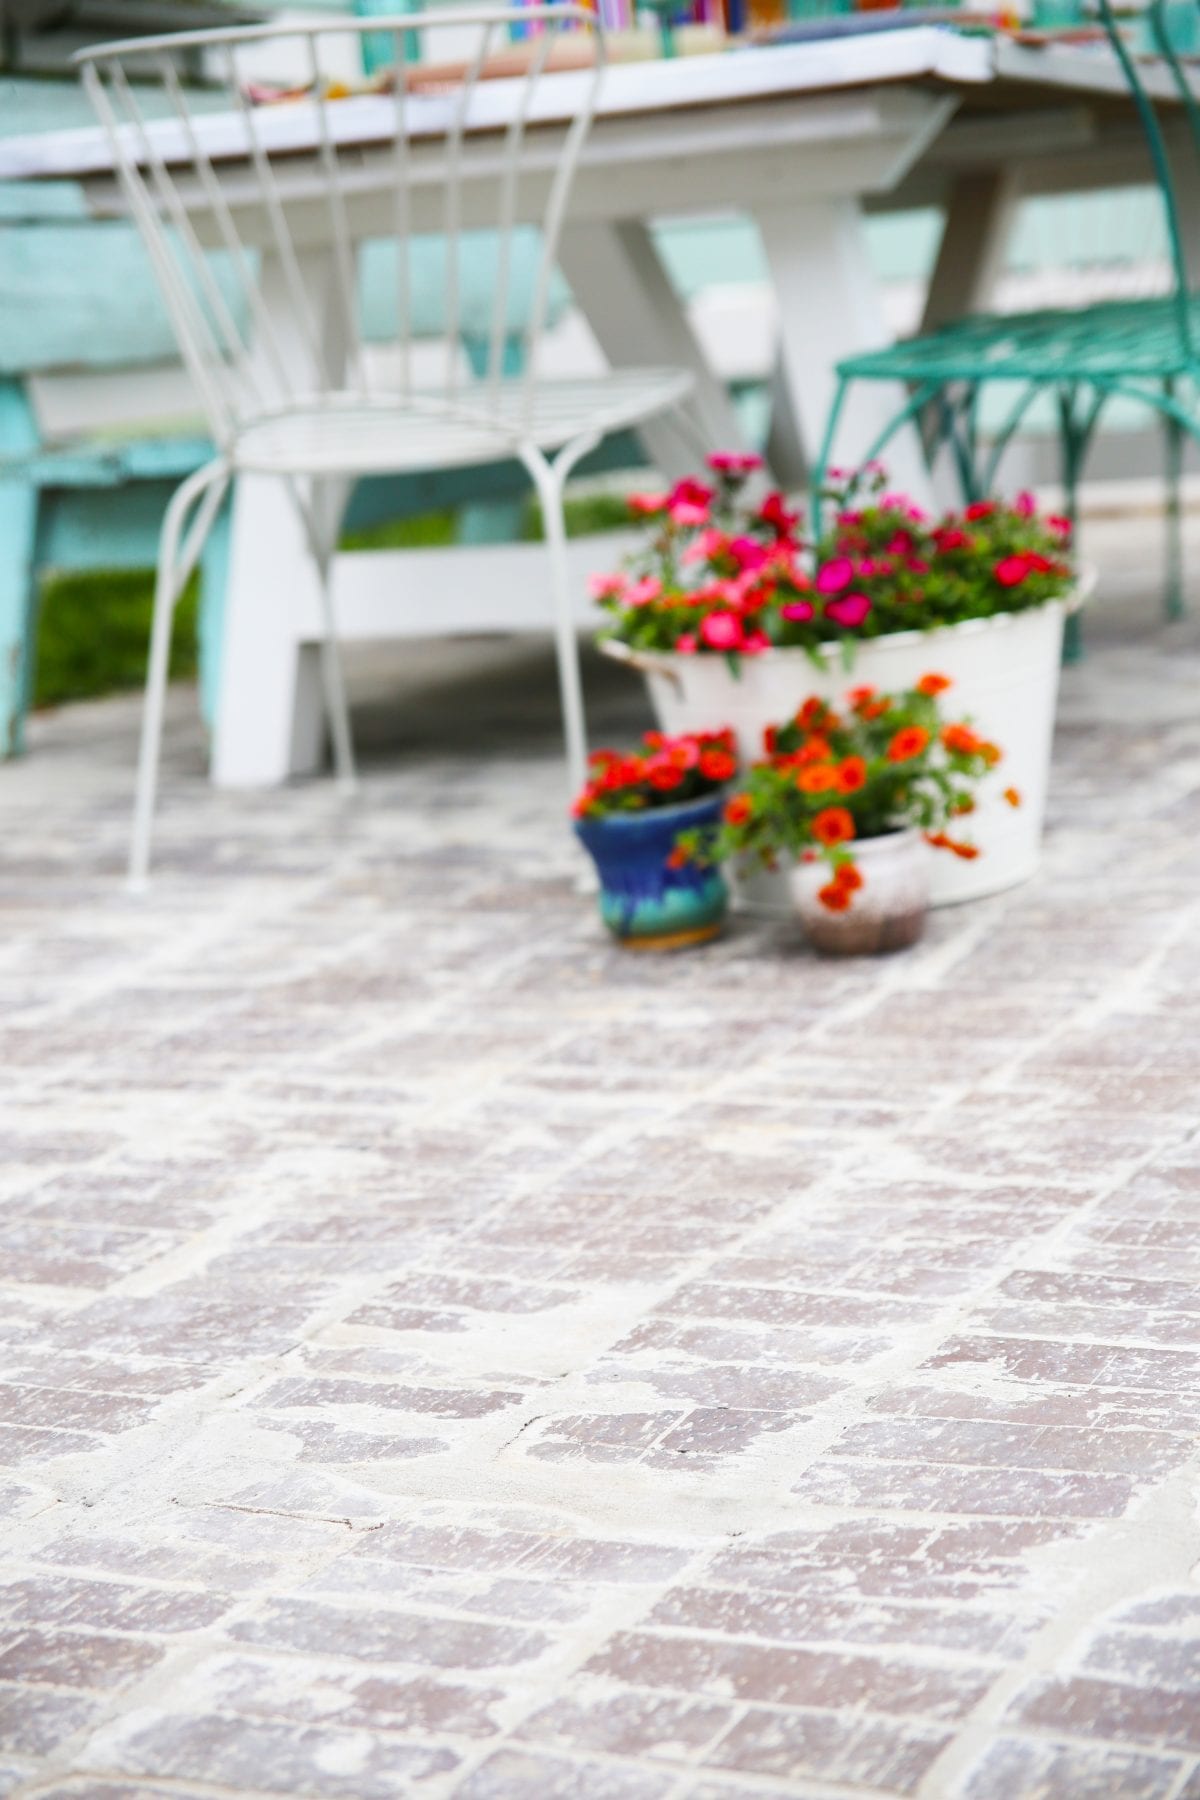
We love the final look and feel of our new al-fresco dining area, and we can’t wait to add our cabana.
Stay tuned, because we’ll be sharing how to build a simple privacy wall, very soon + all the details on our next up plans.
We hope this helped, and let us know if you have any questions.
Have an inspired day!
Source: Thehandmadehome.net
Powered by NewsAPI.org