How to back up your Android Phone - 7 minutes read
When backing up and restoring Android phones, there's no unified method that works and fits everyone's needs. Many users might opt for a cloud-based solution with automatic backups to keep things simple yet effective. Of course, others might prefer to store them offline and manually create their backups instead for safekeeping. There's no right or wrong way to do things here; both options can have trade-offs depending on what you're looking for. In this guide, we'd like to highlight some common methods you might consider when backing up and restoring your Android phone.
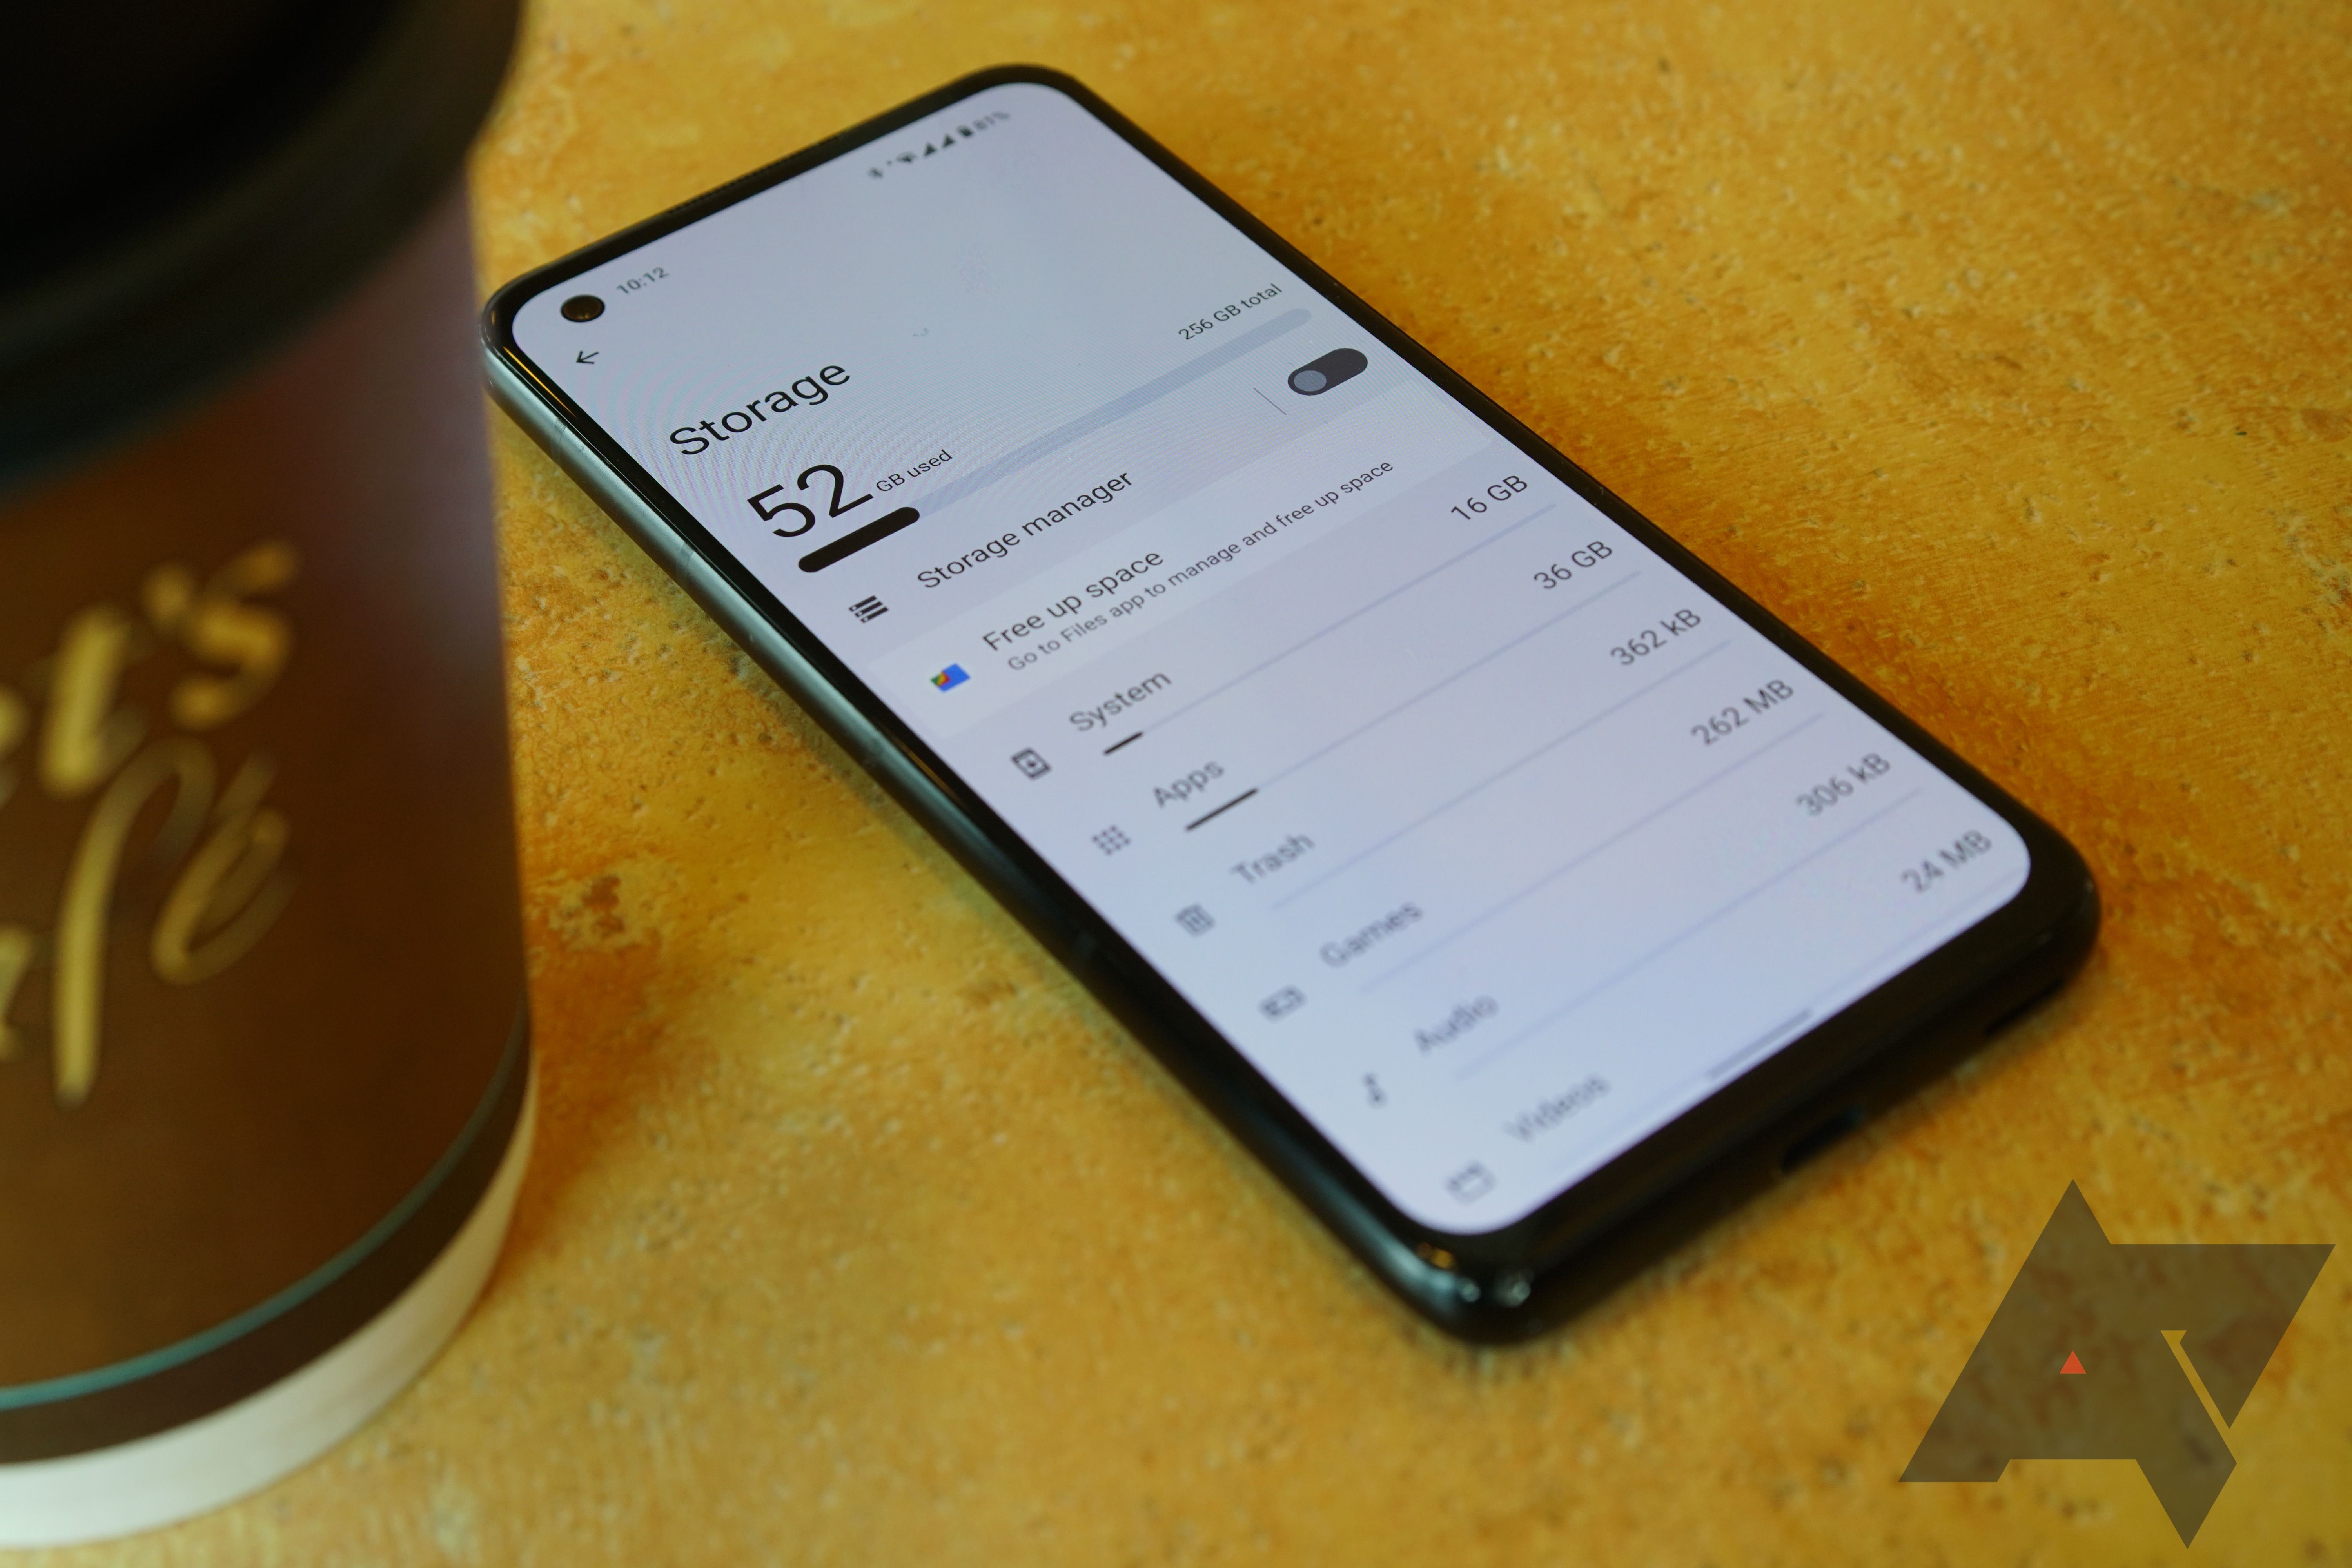
Google One Backup
If you're looking for an excellent, well-rounded backup method for Android, Google One is here to help keep your life simple. Since Google is the official maintainer of Android, it makes sense to use a first-party method that just about any Android phone can tap into. Backing up your device using Google One allows you to save your photos, messages, and a list of your installed apps, to say the least. You also get automatic cloud backups after your device has been charging and idle for 2 hours over Wi-Fi.
How to access Google One using the Android app
If you have a Pixel phone, Google One is included by default as a part of the system for easy access. Open the Settings app, then go to System → Backup. Note that Google offers all account holders 15 GB of free cloud storage for items such as photos, videos, and device backups. Increased storage capacities are available if needed for just a few dollars per month. You can use the Google One app directly on your Pixel or any other Android phone by doing the following:
Download the Google One app if needed, then open it to continue.
Press the Set up device backup button to begin the process.
Tap Turn on to enable Google One backups for your device.
Hit Continue to grant the proper Google Photos permission as needed for your photos and videos. You can always press Cancel if you don't plan on using Google Photos to save your photos and videos.
Tap the Back up now button to begin backing up your device data to Google One.
Once the backup has been completed, you can view more info under the Backup details section.
Google Photos
Google One integrates this part during its setup process, but that doesn't mean you actually plan on using Google One. You could always use Google Photos as a standalone option if you were just looking to back up your photos and videos. To use the Google Photos cloud storage feature, you can do the following:
Download the Google Photos app if needed, then open it to continue.
Press the Turn on Backup button to enable the cloud storage feature.
Pick Original quality or Storage saver depending on your needs, then press Confirm.
Swipe through the intro page as needed, then press Done to get to the main screen. You can also tap Skip to quickly move past the intro and onto the main app.
If you have any photos or videos waiting to be backed up, they should have started uploading now.
Tap your profile icon in the upper right to view the status of your uploads. You'll be good to go once it shows the Backup complete message.
After that, all the content that just backed up should appear on the main screen for you to view.
Samsung Cloud Backup
For those users invested in the Samsung ecosystem, you can use a dedicated service for your phone called Samsung Cloud. This allows you to back up and restore your Samsung device if it ever gets lost, broken, or after a simple factory reset. System settings, Wi-Fi networks, and your home screen layout are just a few examples of what you can back up and keep safe in the cloud. The Samsung Cloud Backup app on Android is fast and easy to use while providing a seamless experience across all your devices.
Swift Backup
This is one of the most useful third-party apps you can find right now when backing up your Android device. Swift Backup allows you to carry out batch actions with just a few quick taps. You can pick the apps you want to save, press a button, and it takes care of the rest for you. It does have a slight setup curve since it relies on the Shizuku service to work, which gives you higher-level system privileges. The good news is you don't actually need root access to benefit from many of its best features.
You'll also be able to back up your messages, phone call logs, and device wallpapers in one go. And once the app is set up to your liking, you can create an automatic schedule to keep everything constantly backed up. We've personally tested Swift Backup and highly recommend it for offline and cloud-based solutions. If you want to learn more about Swift Backup, we have a guide here that gives you an in-depth view of how to use it.
Use a custom recovery for NANDroid backups
When backing up and restoring Android devices, there's a helpful trick that advanced users have up their sleeves. Using a custom recovery environment, such as TWRP, you can take full system image backups of your device. In this case, a NANDroid backup allows you to virtually clone your system and restore it precisely how you left it — all app data included. It doesn't require root access; however, you'll need an unlocked bootloader, a device with TWRP support, and a little know-how.
NANDroid backups can make your life a breeze if you can get through the learning curve and prerequisites. Once you do, you'd only need to deal with manually saving your downloaded media files or photos and videos — that's it. Regarding which Android devices would typically get TWRP support, you can expect many Pixel, OnePlus, and Exynos variant Samsung phones to be on that list. For example, the Pixel 5, OnePlus 9 Pro, and Galaxy S22 Exynos variant all have access to TWRP, thanks to the dedicated developer community.
Do a manual backup using a computer or external storage device
If you're someone who'd rather not rely on cloud-based backups, you might prefer to back up your Android phone manually. The benefit of managing your own backups offline would increase the security since only you have access to the data. Manually backing up an Android phone may not be for everyone; however, it could interest those looking to cut out the third-party options.
You can connect your Android phone to a computer and transfer the files you want to your internal storage for safekeeping. That might include music, photos, and downloaded documents. Alternatively, you can purchase a dedicated external storage device and use that for all your Android backup needs. And if you want to back up your apps and system settings, you'll need to use one of the previous offline methods, such as Swift Backup. Once you do that, you can also drag and drop those files onto your computer or external storage device.
Backing everything up
Many other proprietary backup options from Android device manufacturers exist, along with various third-party apps on the Play Store. We've only highlighted a few of the most popular and effective methods in the above guide. Which one you decide to use all depends on your wants and needs for your own device. And since you have a good starting point to go by now, you can hopefully find the one that works best for you.
Here's LG and T-Mobile's official fix for the IMS bug
Read Next
About The Author
Stephen Perkins
(31 Articles Published)
Stephen is a freelance writer for Android Police who writes general guides and how-tos. He previously worked at Gadget Hacks, writing how-to articles for the Android rooting and modding section. As a power user, he enjoys tweaking his Android devices to fit his specific needs.
More From Stephen Perkins
Source: Android Police
Powered by NewsAPI.org