Everything You Need to Know About Par-Baking - 7 minutes read
 We should all have a solid command of the ABCs of baking. Today, cookbook author Erin McDowell and photographer Sarah Stone are here to help us all make flakier, creamier, just-plain-better pies. This lesson covers how to par-bake pie crusts, so they're crisp, golden, and perfect every time. Plus, all the ways to fill them.
Alright, you’ve mastered the how-tos of mixing your pie crust. Now comes the pie-related question I am asked more often than any other: How do you handle baking? And a lot of this comes down to par-baking.
Par-baking, also known as blind-baking, is the process of baking a crust before filling it. Sometimes it's quick—around 15 minutes—just to ensure a crisp bottom crust before adding a filling and baking some more. Other times, the crust is fully baked because the filling doesn’t require baking (think coconut cream pie). Par-baked pies are some of my favorites because they can take a lot less time to put together.
Shop the Story
How and when you decide to bake your pie can depend on a whole host of variables, but read on for a few essential pie crust rules I like to live by.
Pie 101
Start with cold dough. Yes, I sound like a broken record, since I've already mentioned this at least 10 times, but that’s how important it is. Roll out your dough when it’s nice and chilled. Then, after you transfer it to your pie plate, chill it again, either in the fridge or freezer.
Use a glass pie plate. I always recommend this for pie crust beginners or folks who still struggle with getting that crispy bottom crust. Glass conducts heat well and—best of all—you can see through it. Which means no more guessing if your crust is golden on the bottom.
Once your dough has chilled in the pie plate, pierce the base of the dough with a fork. I usually make 5 to 8 piercings; no need to go crazy.
Use pie weights. First, cut out a square of parchment paper that is slightly larger than your pie plate. Place it, centered, over the dough, and fill the cavity with pie weights (ceramic reusable ones, a metal pie chain, or just plain old dried beans). The weights should be strong enough to hold the parchment paper in place and prevent the crust from puffing up. When using beans or ceramic weights, I usually fill the cavity about half of the way.
Bake at a high temperature. I start (and often finish) all of my pies at 425°F. This causes the water in the butter to evaporate, which creates steam, which creates a light and flaky crust. If the oven is too cold, the fat in the butter just melts, making your crust bake and brown unevenly. It also causes that dreaded shrinkage that can occur when the crust droops down from the lip of the pie plate.
What color should you look for on the crust?
Many pie beginners are so afraid of over-cooking or burning their pie that they under-bake it instead. But browning is good! A brown crust is a crispy, flaky crust. A pale crust is a soggy, chewy crust.
If your crust is browning too quickly or too much, start it at a high temperature, then reduce the temperature to 375°F after 5 to 10 minutes. (This goes for all pies.) If just the top of the crust is getting too brown, you can tent it with foil.
If you’re still struggling to get a crisp bottom crust, try using a baking stone. Heat the oven with the baking stone in the center rack, then place your pie on the baking stone. The stone will help regulate your oven temperature and ensure the bottom of your pie is getting golden brown and crisp. If it’s browning too much, you can always move the pie to another rack to finish baking.
When do you par-bake a pie crust?
Well, that depends, and the power is really in your hands. I tend to par-bake a lot of my pie crusts—even fruit pies with double crusts! I find that the initial baking time really helps ensure a crisp bottom crust. Now, if you are making 10 pies for Thanksgiving and you don’t have time for all that, that’s okay too—this is about finding what works for you and how you like your crust to turn out.
Pictured: Raw dough, partially par-baked crust, and fully par-baked crust.
How to par-bake a crust that will be baked again later
Bake at 425°F until the crust just begins to brown (it will still be pale, but it should not look like raw dough). This time may vary based on your oven and your pie plate, but should take around 15 to 20 minutes. Remove the parchment and pie weights, and cool the crust completely before adding the filling and returning the pie to the oven.
How to par-bake a crust that will not be baked again later
Bake at 425°F until the crust begins to turn golden, 17 to 20 minutes. Remove the parchment and pie weights, and continue to bake until the crust is evenly browned and looks crisp, 5 to 10 minutes.
More par-baking tips
Use an egg wash. This will keep your crust from getting soggy after you fill it. Simply brush the base of the crust lightly with an egg wash when it comes out of the oven, then return the pie to the oven just to set the egg, 30 seconds to 1 minute. Egg whites work best here because they don’t have the high fat content of yolks and therefore won’t brown, but I tend to have regular egg wash on hand, so I usually just use that.
For fruit pies that are made ahead of time, the crust can still get a little soggy as it sets (even if everything is followed perfectly). My best advice is to reheat the pie on a baking stone. Start it at 425°F, just to ensure the baking stone is hot, then lower the oven temperature to 375°F and bake until the pie is heated through. The baking stone will re-crisp the bottom crust just in time for you to slice that bad boy and top it with ice cream.
Once you’ve got a handle on par-baking, you can master the incredible ease of the cold-filling pie. My favorite examples are ganache, whipped cream, and some kind of seasonal fruit, or the ever-popular ice cream pie.
Combinations to get started
Vanilla pastry cream + sugared berries
Lime posset + whipped cream + pinch of salt
Raspberry ice cream + more raspberries on top
Chocolate-hazelnut mousse + toasted, chopped hazelnuts
Crème fraîche panna cotta + your favorite jam
5 recipes to use a par-baked crust
Try one (or all!) of the five recipes below. Each one hinges on a crispy, buttery, par-baked crust.
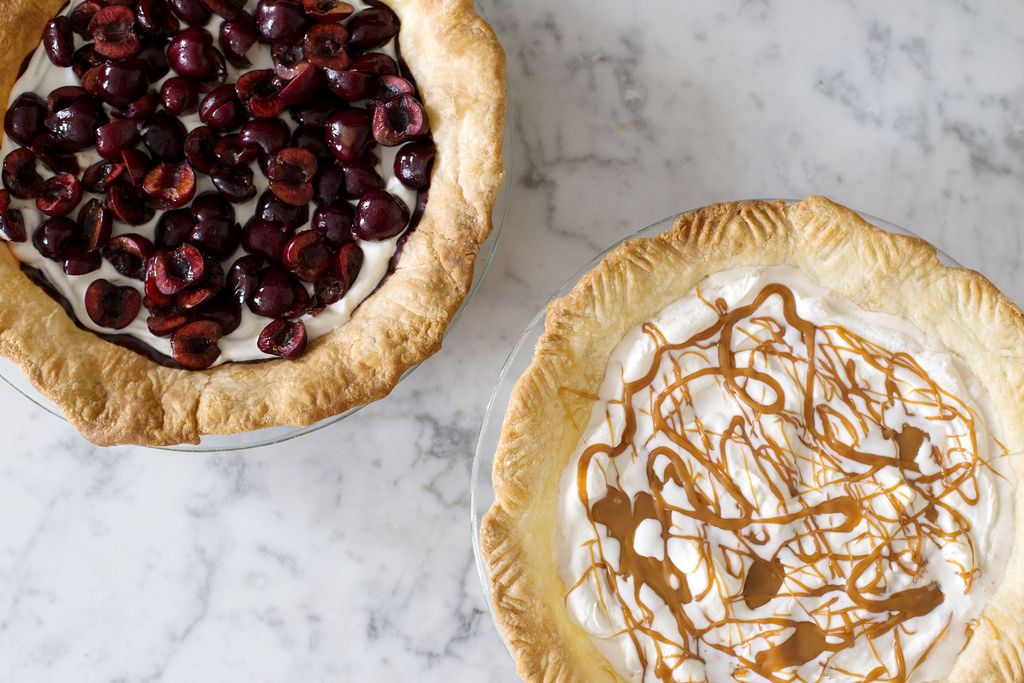
Remember this riffable template: par-baked crust, plus chocolate ganache, plus whipped cream, plus whatever fruit is in season right now. The chocolate can be dark or semisweet. The fruit, anything from cherries or strawberries to chopped plums or peaches.
If you can make pie crust (say it with us, you can!), you're more than halfway done. Ice cream—literally any ice cream, homemade or not—makes a great no-effort pie filling. This recipe uses chocolate, but try vanilla, coffee, or peaches and sour cream.
This fresh-as-heck recipe comes by way of Julie Barker at Helen's Restaurant in Machias, Maine. Blueberry pies are often double-crusted and baked, but this one is the opposite: A par-baked crust is home to lots (and lots) of fresh blueberries, all bound together by a DIY blueberry gel.
Like the blueberry wonder above, this pie leans into the juicy brightness of fresh fruit. Baker Posie (Harwood) Brien found the recipe on the back of a Land O’ Lakes butter box: “In my quest to find excellent back-of-the-box recipes, I found this pie which is perfect for summer baking, as it cooks half the berries and leaves the other half fresh.”
Name a better combination than berries and cream—we’ll wait. In this case, cream refers to pastry cream, which is more or less vanilla pudding. Feel free to swap in another type of berry (say, blackberries or raspberries), or off-road with a mix.
Photos by Sarah Stone. This article originally published in 2014—we updated it with more recipes, because who doesn't want more pie?
Source: Food52.com
Powered by NewsAPI.org